A webcam is a small digital camera that is able to capture an image/video and transmit it over the Internet. The widespread use of this device is due to the desire of people to communicate via video over the Internet. Webcams are becoming more and more popular. They are used to organizing video conferences, broadcasts, and just daily communication of millions of people.
This process does not require special knowledge, even a novice user can implement it. The following is the scheme of serial connection and configure the Webcams embedded in the laptop, netbook, or plug-in separately.
These schemes are used for any manufacturer, for example: Logitech Genius, Asus and many others.

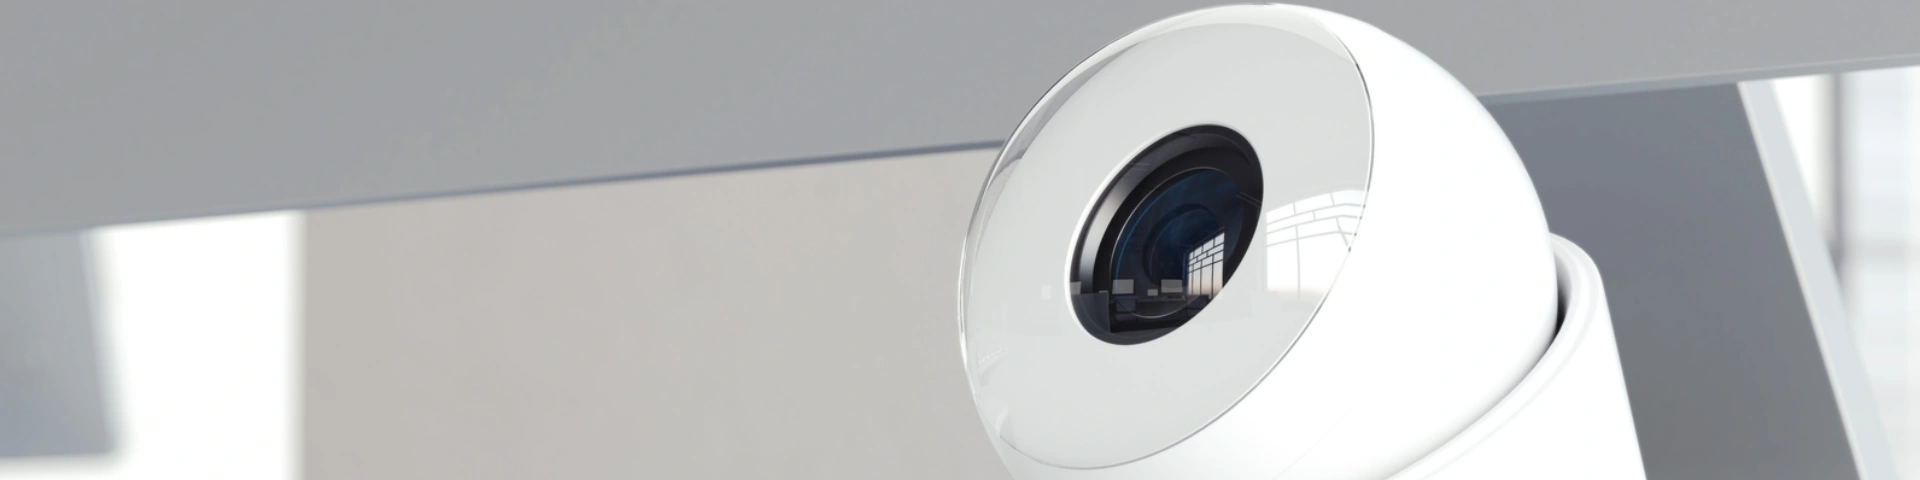
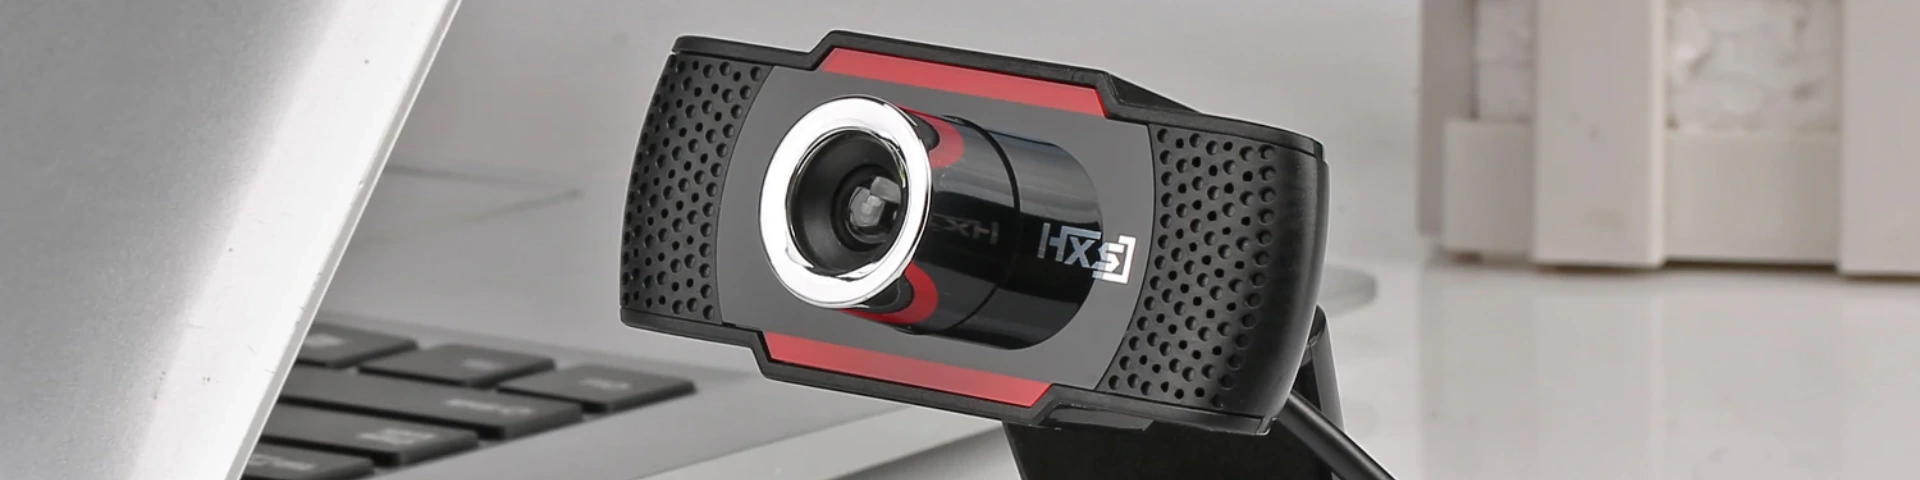
01. Connecting the webcam. If you are using a laptop or a netbook, then surely your camera is already built-in and does not require a connection. If you bought the camera separately, connect the device and the computer by means of a cord. The wire that departs from the camera must be connected to an available USB port. It is impossible to confuse the connector. It is located on the front or back of the system unit. In the case of a laptop, the USB connector can be located at the back, front or side (Pic.).
02. Install webcam drivers. The operating system may set them out of your base. In this case, a pop-up notification appears in the lower right corner that the device is successfully connected. If this does not happen, manual installation is required. Usually, an installation disc is included with the camera. It starts the webcam driver download wizard. The interface of this application is quite simple and standard. The user studies and agrees with the license agreement, chooses the place on the hard disk where the auxiliary applications will be installed and waits until the process is completed. In the case where the disk suddenly was not, you can search for drivers on the manufacturer's website. To do this, enter the device model in the search of Google. It will take quite a bit of time. After you install the drivers, you must restart your computer. Then all changes will be correct.

If everything is done correctly, then in Windows XP, opening the "My computer" section, you will see a connected USB-device (in other versions of Windows, this option is not available). You can also check the operation of the camera using special applications that are installed with the drivers.
In the operating instructions, manufacturers provide information on how to set up the webcam. This can be done either in the accompanying programs, or using the camera control window. In addition, some parameters can be changed in specialized applications that use the camera, for example Skype (Pic.) or on Internet resources (video call service in social networks).
In addition, some models of Webcams allow you to adjust the lighting, apply effects on the image and even remove flickering pictures. There are devices that turn after a moving object. You can also enable or disable this property.
Here is just a small list of standard user settings: image quality, image size, brightness, contrast ratio, tone, saturation, sharpness, sound recording/playback volume.
In fact, there is no single algorithm for configuring Webcams. Too many manufacturers, a large number of models and functions for every taste. Each company has its own unique interface. But to describe all programs operate the cameras impossible.
But at the same time the process of installing and debugging the device is simple. Modern technologies are aimed at the development of visual applications that allow you to easily use the camera even a novice computer user in accordance with their tasks and desires.